
Quick Answer
Good travel photography in 2026 comes down to four decisions: pick one camera you'll carry every day, learn three shutter-speed rules cold, shoot at the edges of the day, and back everything up to two places before you leave the hotel. Everything else is style.
Introduction
This is a guide for travelers who want better photos without becoming photographers. If you're flying twice a year on points, staying at the Hyatt or the Conrad, and want the trip to look as good in pictures as it felt in person, the advice below is for you. We'll cover what to bring, what settings to use, and how to think about light. Then we'll touch on the part most travel-photography guides skip: how your travel rewards strategy can quietly subsidize the whole hobby.
As of May 2026, the gear recommendations here reflect cameras currently sold by the manufacturers. Prices and availability shift; the principles don't.
Why This Matters for Points Travelers
If you're redeeming points for premium cabins, lounge access, and high-end hotels, the photo file is the only thing left after the trip ends. The Park Hyatt Tokyo room looks like every other Park Hyatt room in a snapshot taken with phone flash at 11 PM. The same room shot at 5:30 AM with the curtains open and the lights off looks like a magazine. The cost difference is zero. The result is the difference between a vacation album and a portfolio.
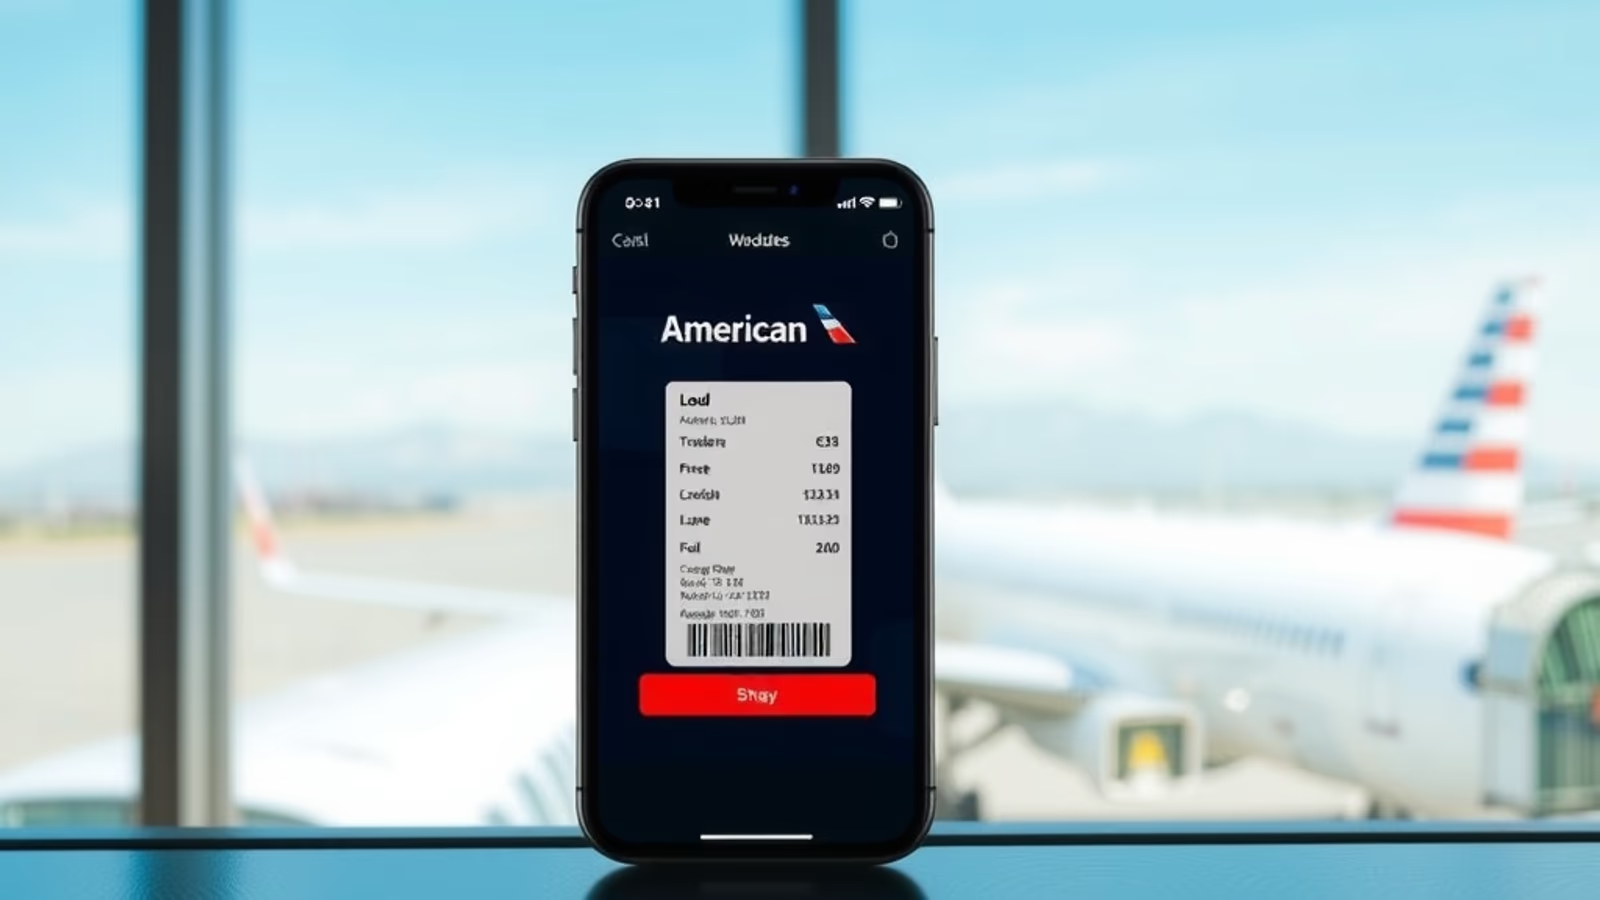
There's also a practical side. A photo of your passport page, your award confirmation, and the front of your hotel room key, taken on day one and backed up to cloud, has saved more travelers from real headaches than any travel insurance policy.
Choosing One Camera and Sticking With It
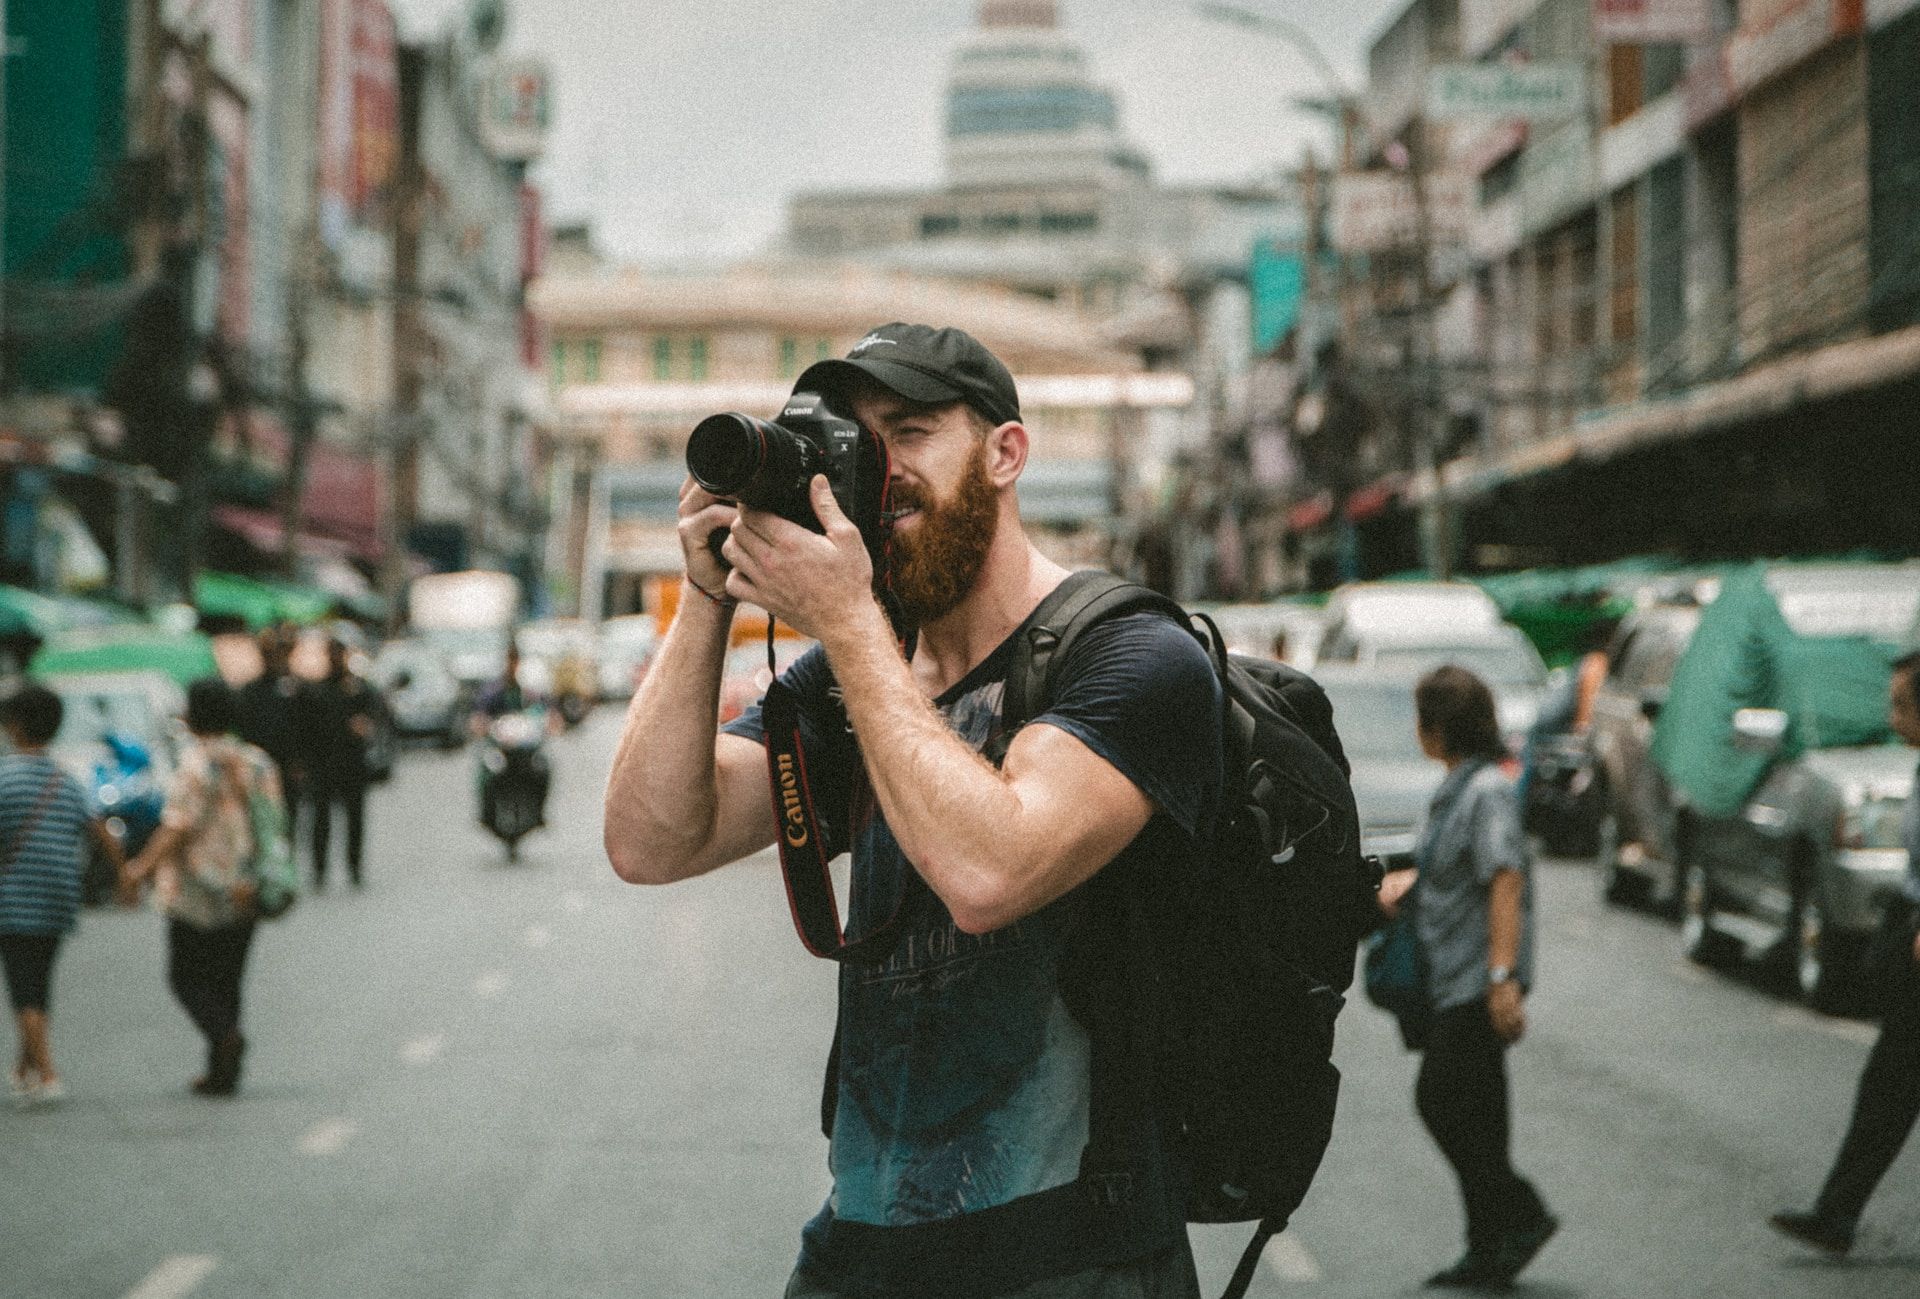
The single biggest mistake travelers make is bringing too much. Two bodies, three lenses, a tripod, ND filters, and a drone all sound great until day three when the bag is in the hotel safe because nobody wants to carry it through Trastevere. Pick one of the three options below and commit.
Option 1: Your Phone (iPhone 16 Pro or Pixel 9 Pro)
In 2026, a current-generation phone is genuinely capable. The iPhone 16 Pro shoots ProRAW at 48 megapixels, handles low light better than DSLRs did a decade ago, and is always in your pocket. The Pixel 9 Pro's computational photography produces results that look professional straight out of the camera.
What you give up: shallow depth of field looks artificial when the phone fakes it, zoom past 5x degrades quickly, and dynamic range in harsh sun is still limited. But for 80% of travel scenarios (markets, street scenes, food, group shots, anything in good light), a phone is enough. If you've been telling yourself you need a real camera before you can take real photos, you don't.
Option 2: A Fixed-Lens Compact (Fujifilm X100VI or Ricoh GR IIIx)
If you want a real camera but hate carrying one, this is the category. The Fujifilm X100VI pairs a 40-megapixel APS-C sensor with a fixed 35mm-equivalent lens, weighs 521 grams, and produces files good enough for prints. Its in-camera film simulations (Classic Chrome, Classic Negative, Reala Ace) give you a final look without editing. Street shooters have built careers on this camera.
The Ricoh GR IIIx is smaller still, pocketable in the truest sense, with a 40mm-equivalent lens and a 24-megapixel APS-C sensor. It's the camera you'll actually bring to dinner.
Tradeoff: one focal length means you walk with your feet to compose. For travel, that's a feature.
Option 3: One Body, Two Lenses (Sony α6700 or Fujifilm X-T5)
If you want flexibility, stop here. The Sony α6700 pairs a 26-megapixel APS-C sensor with the best autofocus in its class and the broadest lens ecosystem of any modern system. The Fujifilm X-T5 has a 40-megapixel sensor and the same color science as the X100VI in a more flexible body.
Pair either with a 16-50mm-equivalent zoom for daytime and a 30mm or 35mm prime for low light, and you've covered every travel scenario short of wildlife. Total weight: about 1.2 kg. That fits in a packing cube.
What about full-frame mirrorless like the Sony α7 IV or Canon R6 II? Excellent cameras, larger files, better low-light. The honest answer is that for travel use displayed on phones and Instagram, you will not see the difference. Buy full-frame if you print large or shoot in very low light often. Otherwise the APS-C cameras above produce images indistinguishable in normal use.
Three Settings to Memorize
Forget aperture priority, manual mode, and exposure compensation for a moment. There are three numbers worth knowing cold.
Shutter Speed for Handheld
The old rule was one over the focal length: a 50mm lens needs at least 1/50 of a second. With in-body image stabilization on every camera mentioned above, you can go two to three stops slower in good technique, but the safer rule for travel is one over twice the focal length. A 35mm-equivalent shot needs 1/80 second or faster. Anything slower and you risk blur from your own movement.
For people who move, the floor is 1/250 second. For kids running, 1/500. Photographing your spouse walking through Plaza Mayor at 1/60 will look soft, and you won't know why.
ISO Ceilings
Modern APS-C sensors are clean to about ISO 3200 and usable to ISO 6400. Full-frame goes one stop further. Phone night modes work because the phone takes multiple exposures and merges them, which you can't replicate on a real camera handheld in the same way. Set Auto ISO with a ceiling of 3200 for APS-C, 6400 for full-frame, and let the camera handle it. Don't shoot at ISO 100 in a dim restaurant because someone told you noise was bad. Sharp and slightly noisy beats clean and blurry every time.
Exposure Compensation
This is the dial you'll use most. If your shot looks too dark, dial in +0.7 stops. If a bright sky is fooling the meter, dial in -0.7. That's it. Spend a day shooting with exposure compensation as your only manual adjustment and you'll understand exposure better than most weekend photographers.
The Two-Hour Rule for Light
Light is more important than gear. The two hours that matter for travel photography:
- The hour after sunrise
- The hour before sunset
That's golden hour. Colors warm, shadows lengthen, and even ordinary scenes look cinematic. The 30 minutes before sunrise and 30 minutes after sunset, called blue hour, are nearly as good and almost always empty of tourists.
In practice, this means waking up. If sunrise in Lisbon on a June morning is 6:11 AM, you want to be at Miradouro da Senhora do Monte by 5:45. The light at 7:30 AM is fine; the light at 6:00 AM is something else entirely. The hotel breakfast will still be there at 9.
A small but useful habit: check sunrise and sunset times for each city before you leave. The PhotoPills app does this with directional overlays for planning a specific composition. The free Time and Date website does it adequately.
What about midday? Midday light is hard. Shadows are deep, faces are harsh, skies blow out. The fix is to shoot in shade, shoot interiors, shoot food, or take a break. Cathedrals, museums, and covered markets are gifts to the midday photographer.
Composition: Three Frameworks That Cover 90% of Cases
You don't need a course on composition. You need three habits.
Look behind the subject. The most common composition mistake in travel photography is putting a beautiful subject in front of an ugly background, like a power line behind someone's head or a trash can next to a temple. Before you press the shutter, scan the edges of the frame. Move two steps left or right to clean it up.
Use foreground. A landscape shot from a viewpoint with nothing in the foreground looks flat. A landscape shot with flowers, a rock, a railing, or a person's hand resting on a balustrade in the foreground has depth. This is the rule of foreground-middle-background, and it works in 90% of landscape and architectural shots.
Wait for a person. A street, a square, a beach, a cathedral interior: all of it gets more interesting when one human walks into the frame at the right place. Pre-compose, wait, and press the shutter when the person reaches the spot you want. This single habit will improve your travel photography more than any new lens.
The Pre-Trip Backup Plan
Before you leave home, decide where photos go and stick to it. The two-place rule is non-negotiable on travel: every photo lives in at least two locations before you sleep.
A workable system in 2026:
- Camera writes to two SD cards simultaneously (most APS-C bodies do this).
- Phone auto-backs up to iCloud Photos or Google Photos on hotel Wi-Fi.
- Camera files copy to a small portable SSD (the Samsung T7 Shield is the working standard) at the end of each day. If the room has decent Wi-Fi, files also go to cloud via your laptop or via the Fujifilm and Sony apps.
This sounds excessive until the first time it saves you. Lost luggage rates on US-domestic flights in 2025 hovered near 0.6%; international connections are higher. If your camera bag goes missing in Frankfurt, you want the photos to already be elsewhere.
How Travel Rewards Quietly Subsidize the Hobby
A brief points/miles aside, since this is The Points Party. The connections aren't dramatic (there's no airline credit that buys camera gear), but a few cards make the photo side of travel materially easier.
Premium cabin baggage allowance. International business class on most carriers includes two checked bags up to 32 kg each, plus a carry-on and personal item that's usually generous enough for a body and one or two lenses. Economy on the same routes is one bag, often 23 kg, with stricter carry-on weight enforcement. If you're flying United Polaris, Delta One, or American Flagship on miles, you can bring a tripod in checked baggage without paying extra.
Trip delay and lost luggage coverage. The Chase Sapphire Reserve and Amex Platinum both include trip delay reimbursement and lost-luggage protection when the ticket is purchased on the card. As of May 2026, the Sapphire Reserve covers lost or damaged checked baggage up to USD 3,000 per person and up to USD 500 per article for jewelry and electronics, which is the relevant line for cameras. Read your card's benefits guide for the exact terms before you rely on it.
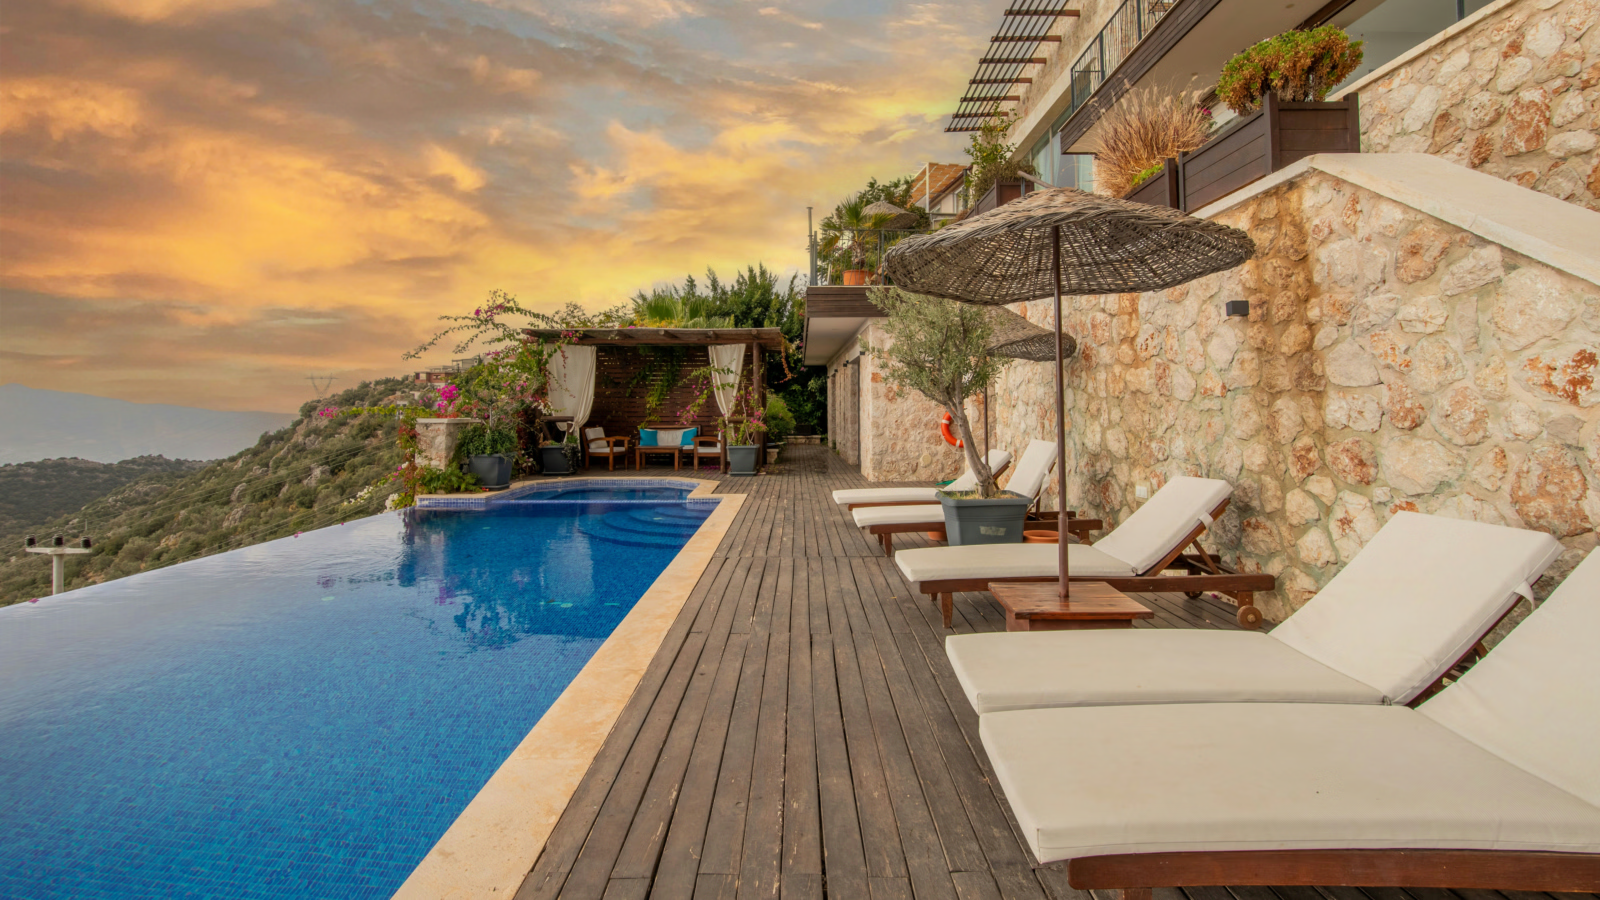
Hotel credits for the early-arrival night. The Amex Platinum's USD 200 annual hotel credit (Fine Hotels + Resorts or The Hotel Collection) and the Capital One Venture X's USD 300 annual travel credit through Capital One Travel can effectively pay for one of the nights you spend in a city. That extra night is what lets you scout a location at sunset, sleep, and shoot it at sunrise without rushing. The credit doesn't say "for photographers," but functionally that's how I use mine.
Lounge access for files. Priority Pass, Centurion, Polaris, and Chase Sapphire Lounges all offer reliable Wi-Fi and power. A two-hour layover becomes useful editing and backup time instead of dead time. The Amex Platinum's lounge network is the most extensive in 2026; the Capital One Venture X gets you into Capital One and Priority Pass lounges for a smaller annual fee.
None of these benefits exist to subsidize photography. But for travelers already optimizing their rewards, they remove just enough friction that bringing a real camera stops being a hassle.
Editing: A Short Section on Purpose
A long editing section is where most travel-photography guides go to die. Here's the short version.
Pick one editor and learn it. Adobe Lightroom Mobile is free for a phone-only workflow; the full Lightroom subscription is USD 9.99 per month as of May 2026. Capture One is the alternative for Fujifilm and Sony shooters. The phone app Darkroom is excellent if you only ever shoot on iPhone.
Apply the same five adjustments to every photo, in order:
- White balance: pull warmth slightly toward neutral if a tungsten-lit interior is too orange; push it warmer for sunset.
- Exposure: brighten or darken to taste. The histogram should mostly miss both edges.
- Highlights down, shadows up: this single move recovers detail in skies and faces.
- Texture and clarity, gently: +10 on both is plenty. Anything higher starts to look HDR.
- A subtle film preset or a Fujifilm in-camera simulation for a consistent look.
That's it. Fifteen seconds per photo. Style is consistency, not complexity.
A Quick Word on Drones
Drones produce remarkable footage and create remarkable airport problems. Before you pack one, check the rules for every country on your itinerary. As of 2026, drones are banned outright in Morocco, Cuba, and Iran; require advance permits in India, Egypt, and Nicaragua; and are restricted near most cities and parks in the EU and US. If you're flying through a country where drones are banned, the device itself can be confiscated even if you never plan to fly it there. For a casual traveler, the math rarely works out. For a content creator, it sometimes does. Know before you go.
Common Mistakes to Avoid
- Bringing too much gear. One body, two lenses, max. Anything more sits in the hotel.
- Shooting only at midday. Shift one meal earlier or later and you'll shoot in better light.
- Skipping the backup. A 30 USD SD card is cheap insurance against the trip going on a card that gets lost.
- Editing aggressively. Heavy saturation and crushed shadows date a photo to the year you took it. Subtle ages well.
- Forgetting to be in your own photos. Hand the camera to a partner, use a small tripod and the self-timer, or ask another traveler. A trip without you in any of the pictures is a portfolio, not an album.
A Final Note
The best travel photos aren't taken by people with the best gear. They're taken by people who walk further, wake up earlier, and pay attention longer. A 2026 phone in the hand of a patient traveler at sunrise beats a 5,000-dollar full-frame body at noon every time. Bring less than you think you need. Wake up before you want to. And remember to put the camera down sometimes — the best moments tend to happen when you're not trying to photograph them.
This article contains affiliate links. If you apply through our links, we may earn a commission at no cost to you, which helps us continue sharing points and miles strategies with the community.
Some of the links in this article are affiliate links. We may receive a small commission at no extra cost to you if you apply through these links. This helps us keep the site running and continue creating free content.